Headless install and setup of Raspberry PI OS
To get started using a Raspberry PI you need to install an operating system (OS). This could be any OS compatible with Raspberry PI's, typically a flavour of Linux. For beginners it's best to start with the official "Raspberry PI OS" (previously called Raspbian).
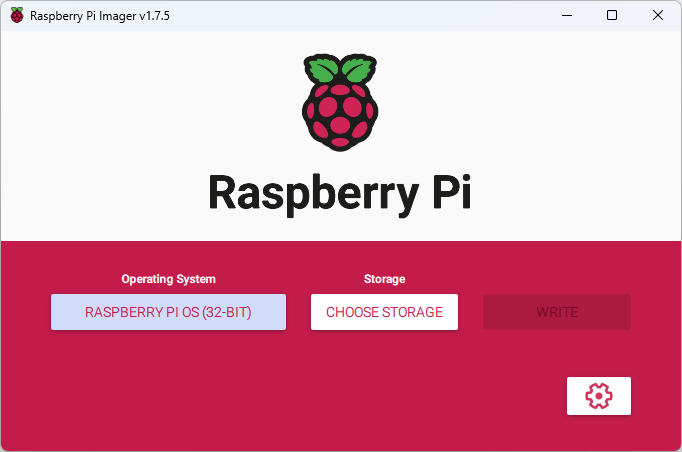
Raspberry PI Imager
The people at PI provide their own fantastic and easy to use tool called the Raspberry PI Imager, and this is all you really need now-a-days. See their website for more information and how to download the imager for your choosen OS.
Once downloaded, installed and up and running, you'll only need to do three things...
Choose Operating System
Click the Choose OS button and select your OS of choice. The nice thing about this tool is it provides loads of images for different OSes, not just the standard Raspberry PI OS, although this is usually the one you'll want. I normally only ever use the "lite" version, which doesn't include the desktop interface and is has a smaller footprint.
Choose Storage
Click the Choose Storage button and select the storage drive to write the image too. For a PI this will normally be to a drive that has your SD card mounted.
Advanced Settings
The other nice thing about this tool is it provides a really easy method to configure the image for headless setup. Simply click the settings button (cog icon) to quickly and easily configure further settings...
Set hostname- to give the PI a friendly hostname. It typically defaults toraspberrypi. Change as required.Enable SSH- this should be enabled if managing your PI remotely, which is most likely. I normally just pick the "Use password authentication" option.Set username and password- I believe if you don't set this then the username will default topiand the passwordraspberry, but you can override this here. You'll use these credentials to connect remotely, via SSH if enabled above.Configure wireless LAN- if you can connect to your PI via a cable then there is no need to set this. If connecting wirelessly though you'll need to set the "SSID" and "Password" accordingly.Set locale settings- optional I believe, but do usually set it to my own region/locale.
Note that these advanced setting options might not be available for all OS images.
Write the Image
Finally when you're ready, hit the Write button, and wait for it to do it's thing.
Once it's complete, remove the SD card and insert in the PI and power it up. Give it a few minutes and try connecting to the PI to make sure everything is working correctly.
Manual Installation
To do...
Connect to the Raspberry PI
ssh user@hostname
useris the username as set in Advanced Settings. Defaults topi. Password defaults toraspberry.hostnameis the hostname as set in Advanced Settings.
If successful you'll have to confirm the first time authentication step by entering yes and hitting enter. Then enter your password (as set in Advanced Settings).
Job done, you're now ready to get using your Raspberry PI.
The first recommended thing to do is update and upgrade everything.
Then you maybe want to look at raspi-config to adjust any further settings...
sudo raspi-config
Related Articles
Purchased one of these HATs recently? How to change the fan speed at different temperatures.
Raspberry PI
If your PI isn't feeling well or it just needs a health check, this is how to read its current temperature.
Raspberry PI, Linux
A quick and simple HTTP server in Python in only a few lines of code.
Raspberry PI, Python